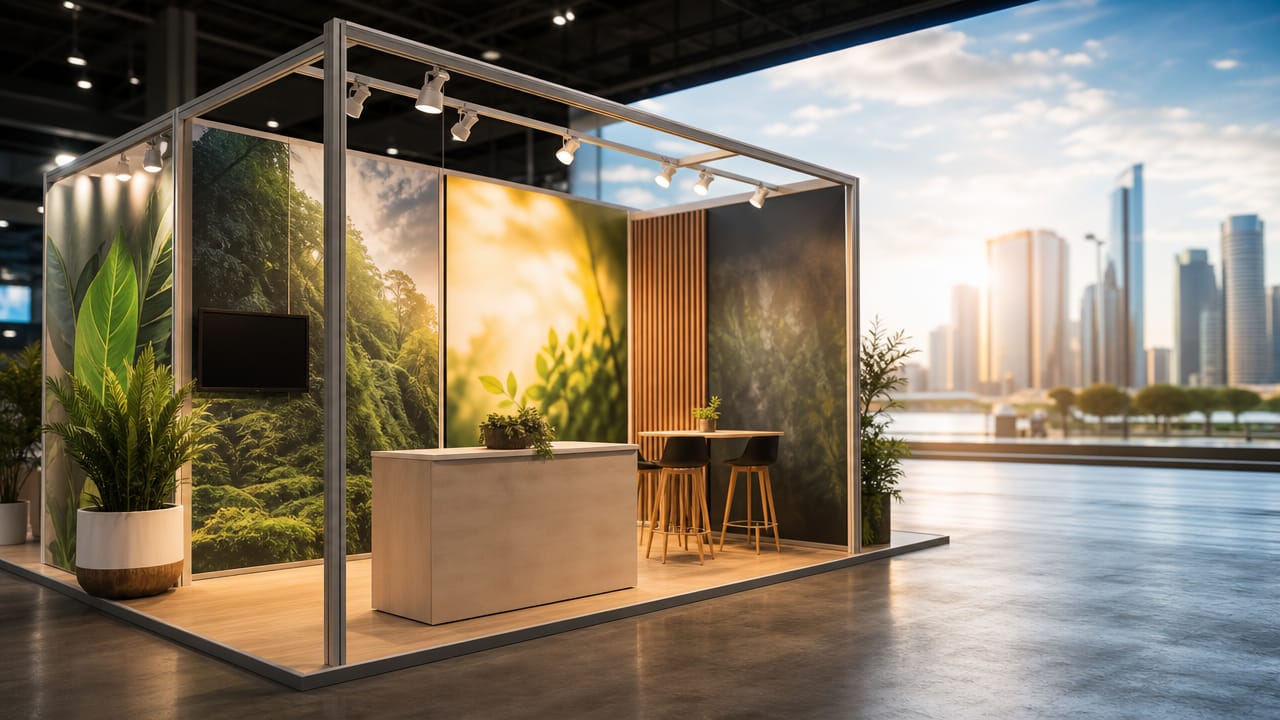



Choosing the right shell scheme graphics is essential to turning a basic trade show structure into a professional, high-impact presence. In Australian venues, where aisles are busy and decisions are made in seconds, your visual messaging must work hard to attract attention, clarify what you do, and support meaningful conversations with prospects. Thoughtful planning helps you avoid costly reprints, last‑minute fixes, and confusing layouts that undercut your brand.
Shell scheme displays provide a modular framework, but it is the graphics that communicate your brand story. Effective artwork answers three quick questions for visitors: who you are, what you offer, and why they should stop at your stand. For a typical shell scheme booth, this means prioritising bold headlines, strong visuals, and simple supporting information. When done well, graphics create a cohesive environment rather than a collection of disconnected panels.
Start every layout with clarity: a single primary message that can be read from several metres away. Limit text to short, benefit‑led statements, avoiding dense bullet lists that are hard to scan in a fast‑moving exhibition. Use your approved colours, logo, and typography consistently to reinforce brand recognition across multiple events. High contrast between text and background improves readability under varying exhibition lighting conditions, making small shell booth visual impact much easier to achieve.
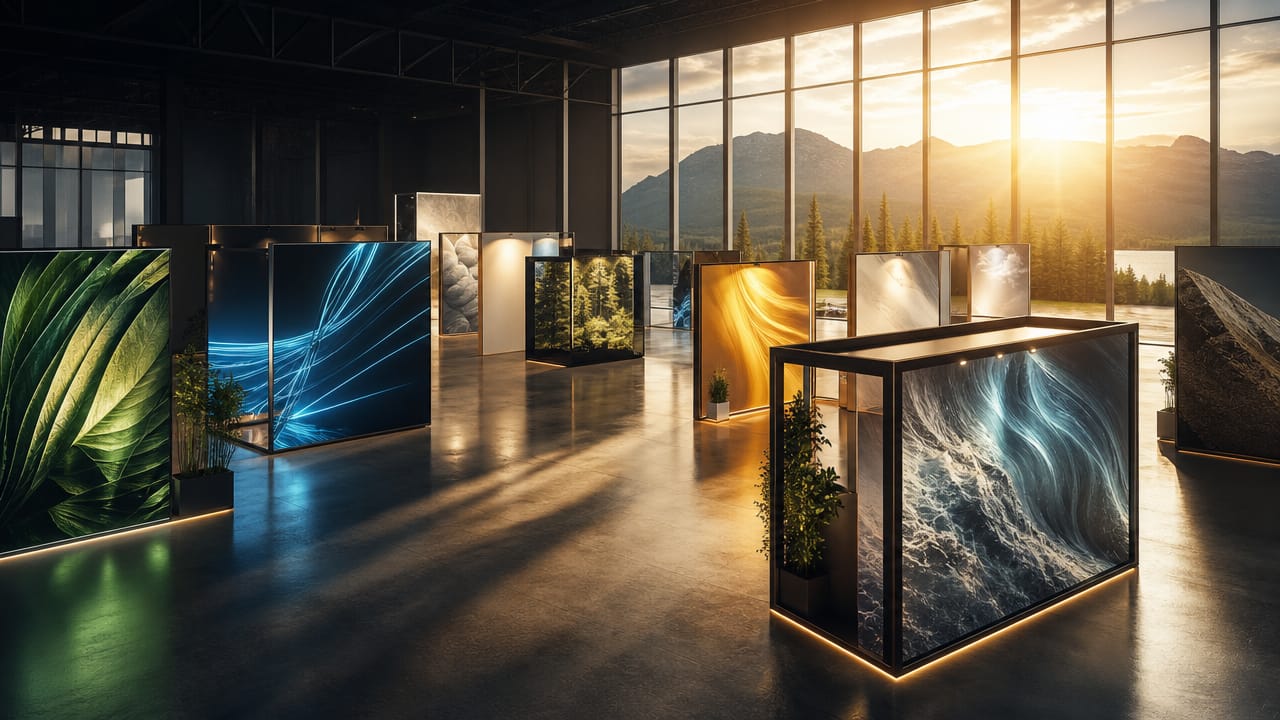
Select high‑resolution photography or vector artwork suitable for large‑format printing; avoid repurposed web images that will appear pixelated. Show your product or service in context, rather than relying on generic stock imagery, so visitors can instantly understand outcomes and applications. Plan a clear visual hierarchy: logo at the top, main message around eye level, and supporting detail closer to where people stand. Consider modular shell scheme graphics or reusable shell scheme panels to allow easy reconfiguration between events and venues.
Before briefing a designer, measure your structure accurately, noting panel widths, heights, and any obstructions such as power boxes or doors. Confirm venue requirements around fire‑retardant materials and fixing methods, especially for tension fabric shell scheme displays and portable shell booth backdrops. If you are working with Shell Scheme Stands across multiple shows, explore cost effective shell scheme branding that can adapt to different footprints. Some exhibitors also integrate DIY shell booth wall graphics or shell scheme banner solutions for rapid updates.
Thoughtful shell scheme graphics help you move beyond basic compliance and towards a stand that actively supports your sales conversations. By combining clear messaging, disciplined branding, and practical planning, you reduce waste and improve visitor engagement at every event. To better understand layout options, materials, and print specifications for shell scheme displays, consider speaking with an exhibition specialist who can review your objectives and guide you through the most suitable solutions for your next show.
Input your search keywords and press Enter.