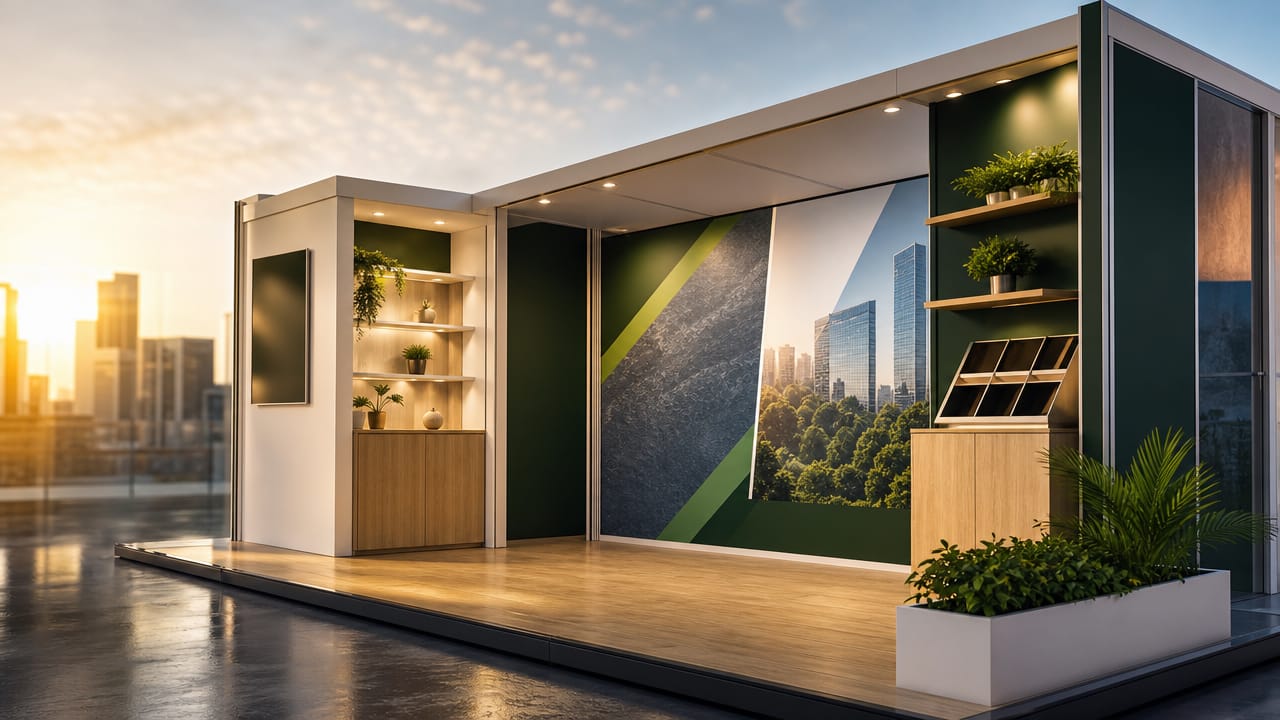



Australian exhibitors know every square metre counts, especially in compact shell scheme displays where rent, fit-out and freight quickly add up. This guide explains how effective use of floor space in shell scheme exhibits can lift engagement, boost dwell time and capture more qualified leads without upgrading to a larger footprint. By planning your layout around movement, visibility and storage, your stand can function like a mini showroom and sales office in one.
Visitors hesitate if the entrance feels blocked or awkward to enter, particularly in a busy shell scheme booth corridor. Keep the front clear of bulky counters and brochure stands, and push low-profile furniture to the sides so people can step directly inside. Position staff a metre or two back from the aisle to draw attendees in and reduce bottlenecks. Aim for at least 60 per cent of your frontage to remain visually open.
With walls typically 2.4–2.5 metres high, modular shell scheme wall panels are prime real estate for messaging and product display. Wall-mount screens, shelves and lighting to showcase hero products while keeping cables and equipment off the floor. This opens up circulation space and makes demonstrations safer and easier. Many exhibitors also use custom printed shell scheme backdrops to turn plain panels into a strong visual anchor that is visible from across the hall.

Oversized tables and lounges can swallow a three-by-three within minutes. Swap them for bar-height tables and slim stools that support short, focused conversations and quick note-taking. Space-saving shell scheme counters with built-in storage help you hide bags, samples and giveaways while keeping surfaces clean. For exhibitors testing new layouts or cities, portable displays for shell schemes and lightweight furniture make it easier to adjust your configuration between show days.
Well-planned shell scheme graphics do more than decorate; they shape the visitor journey from curiosity to conversation. Place your core message at eye level on the back wall, legible from three to five metres away in a crowded aisle. Use side-wall visuals to gently lead visitors deeper into the space instead of stopping at the threshold. Budget-friendly shell scheme graphics can still look premium if you prioritise clarity, contrast and a single key call to action.
Tabletop laptops and freestanding kiosks consume valuable circulation space and quickly clutter sightlines. Whenever possible, mount tablets and touchscreens on the walls for product selectors, demos and lead capture forms. Build slim lockable cupboards or shelves behind or beneath these stations so cartons and personal items disappear from view. Clear floors make even small shell scheme stand ideas feel bigger, neater and more professional to time-poor decision-makers.
To turn these principles into a workable plan, map traffic flows, sightlines and staff positions across your Shell Scheme Stands before you sign off on artwork or furniture hire. This ensures every square metre contributes to discovery, demonstration or data capture. If you need expert help balancing creativity with practicality in your next shell scheme booth, speak with an experienced Australian stand designer who can translate your objectives into a lead-generating layout and recommend the right shell scheme displays for your budget.
Input your search keywords and press Enter.